| categories:articles
Building a Planck Keyboard
I started programming on an 8MHz 80286 IBM AT (mostly BASICA/GW-BASIC). The AT was a beast of a machine, weighing 43 pounds, with a keyboard to match – the Model F, a buckling spring style “clicky” keyboard. Given this start, it is unsurprising that I am still fond of a solidly built mechanical keyboard. I have tried a few throughout the years, settling on a HHKB Pro 2 for a while.
Recently, I built a Planck from OLKB – a 40% keyboard featuring a grid-based ortholinear layout. The Planck has 4 rows and 12 columns and supports two main key switch layouts – grid, consisting of 48 keys, and MIT, consisting of 47 keys (every key gets one cell in the grid except SPACE which gets 2 cells).
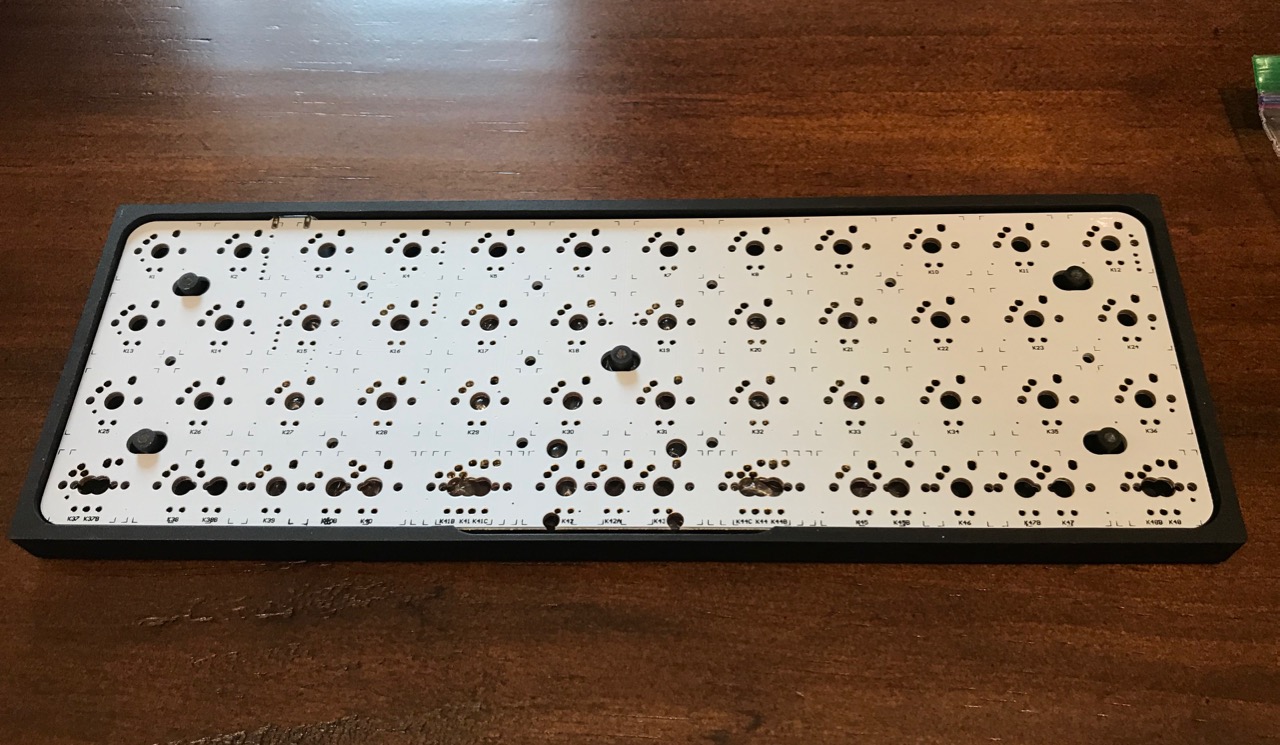
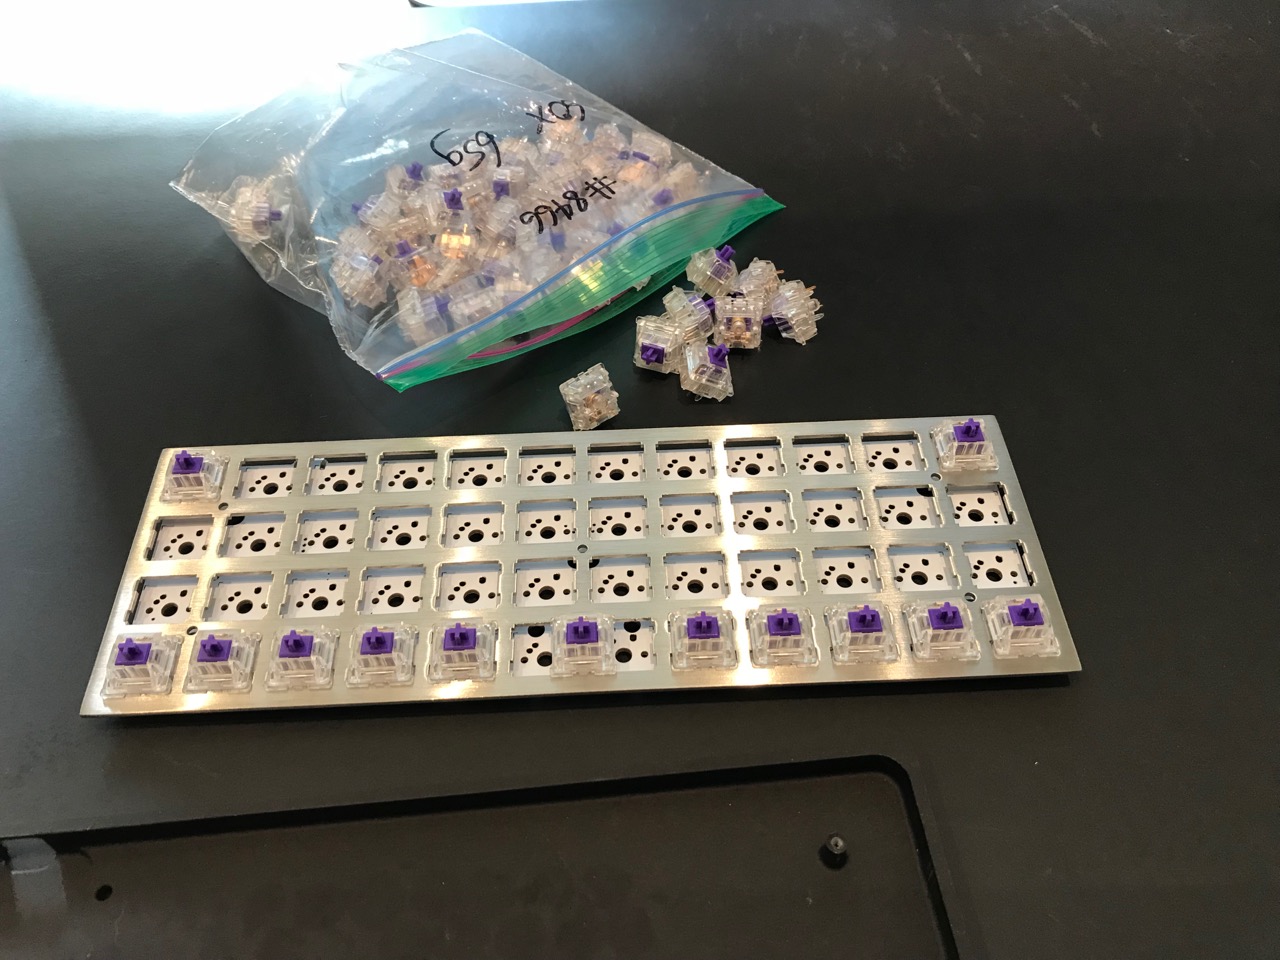
OLKB sells the printed circuit board, a top plate to hold key switches, and a milled aluminum bottom. The circuit board comes with all components soldered already - diodes, resistors, and a microcontroller. The PCB supports both the grid layout and the MIT layout but the top plate is specific to the desired layout and switch style. You have to source your own switches and keycaps. I chose a stainless steel top plate in MIT layout with 65g Zealios switches and SA Ice Cap keycaps from Signature Plastics.
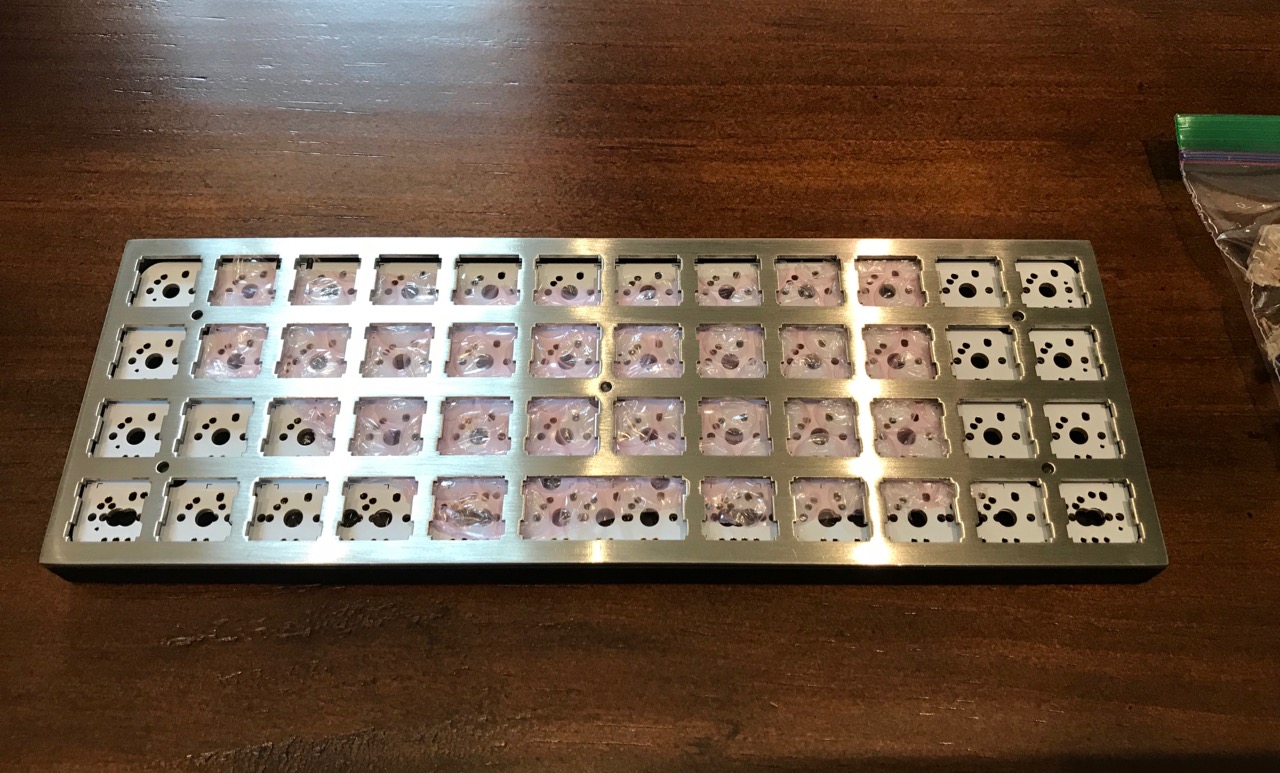
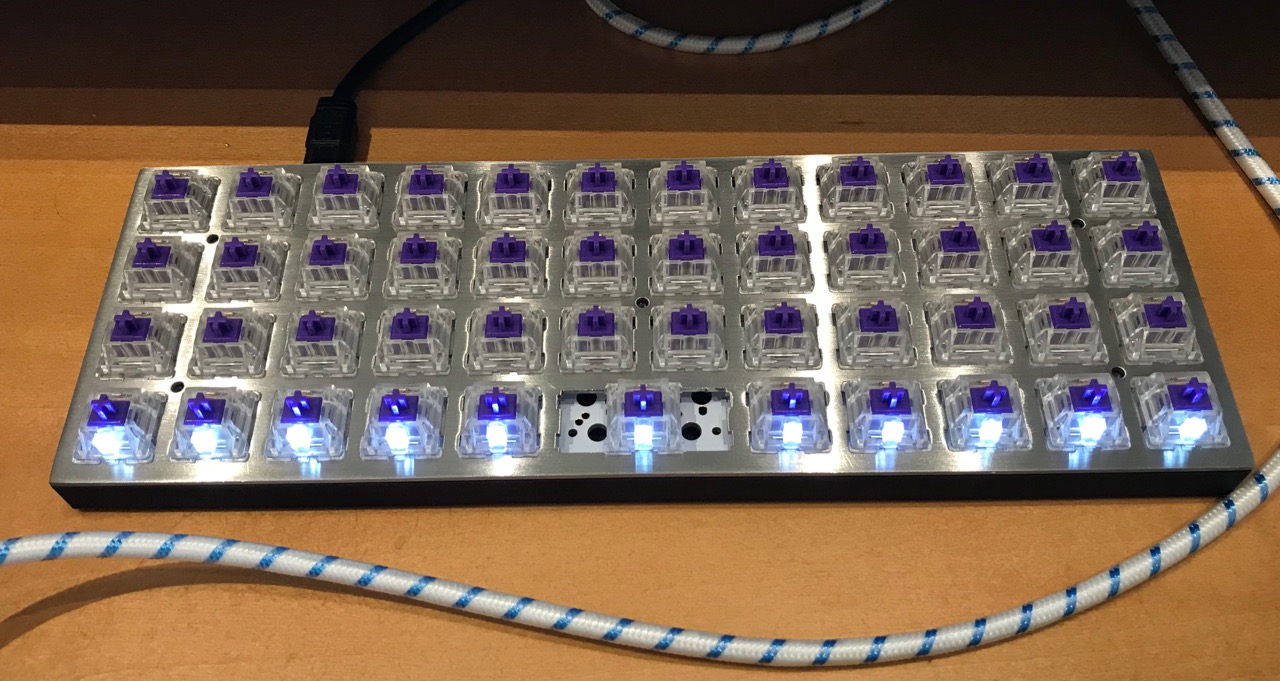
The first step of assembly is placing switches in to the corners of the plate and then soldering them to the circuit board. Starting with the corners allows the circuit board to be firmly attached to the top plate. Once the corner switches are in, the rest of the switches can be inserted and soldered.
After switch installation, I installed white LEDs for switch backlighting. Each LED is inserted in the holes on the switch body and then soldered to the circuit board underneath. This is relatively straightforward but you do need to ensure the LED polarity is correct and you need to hold each LED in place when soldering it so that it doesn’t raise from the base of the switch body. I typically solder a row of LEDs at a time, checking after each row to make sure all of the LEDs light.
To reduce the sound of the keys when typing, I installed Zealencios – plastic caps that snap on to each switch and have a soft white foam pad on the top. If the keycap bottoms out when typing, the foam bad cushions the impact.
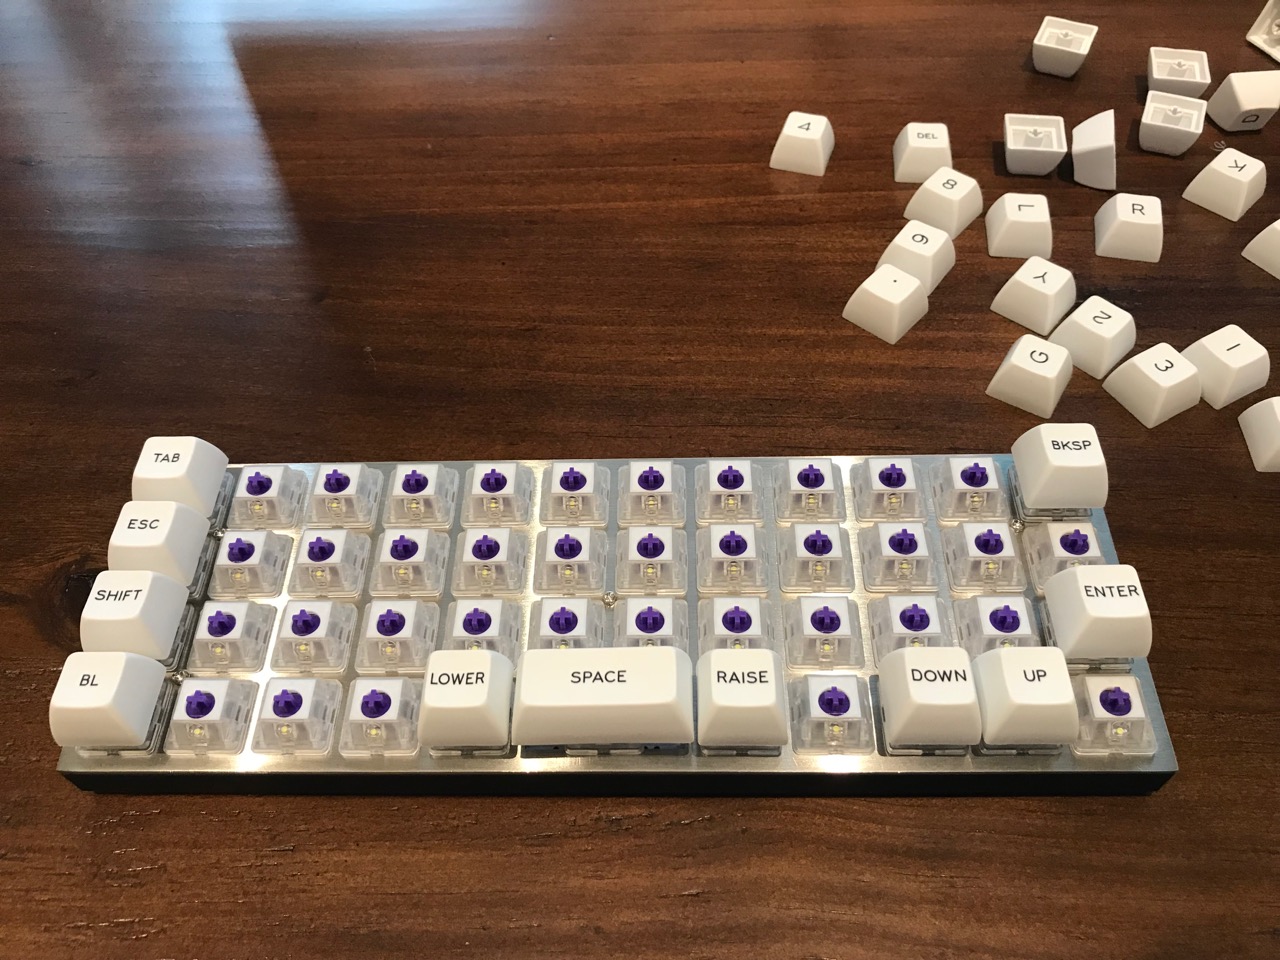
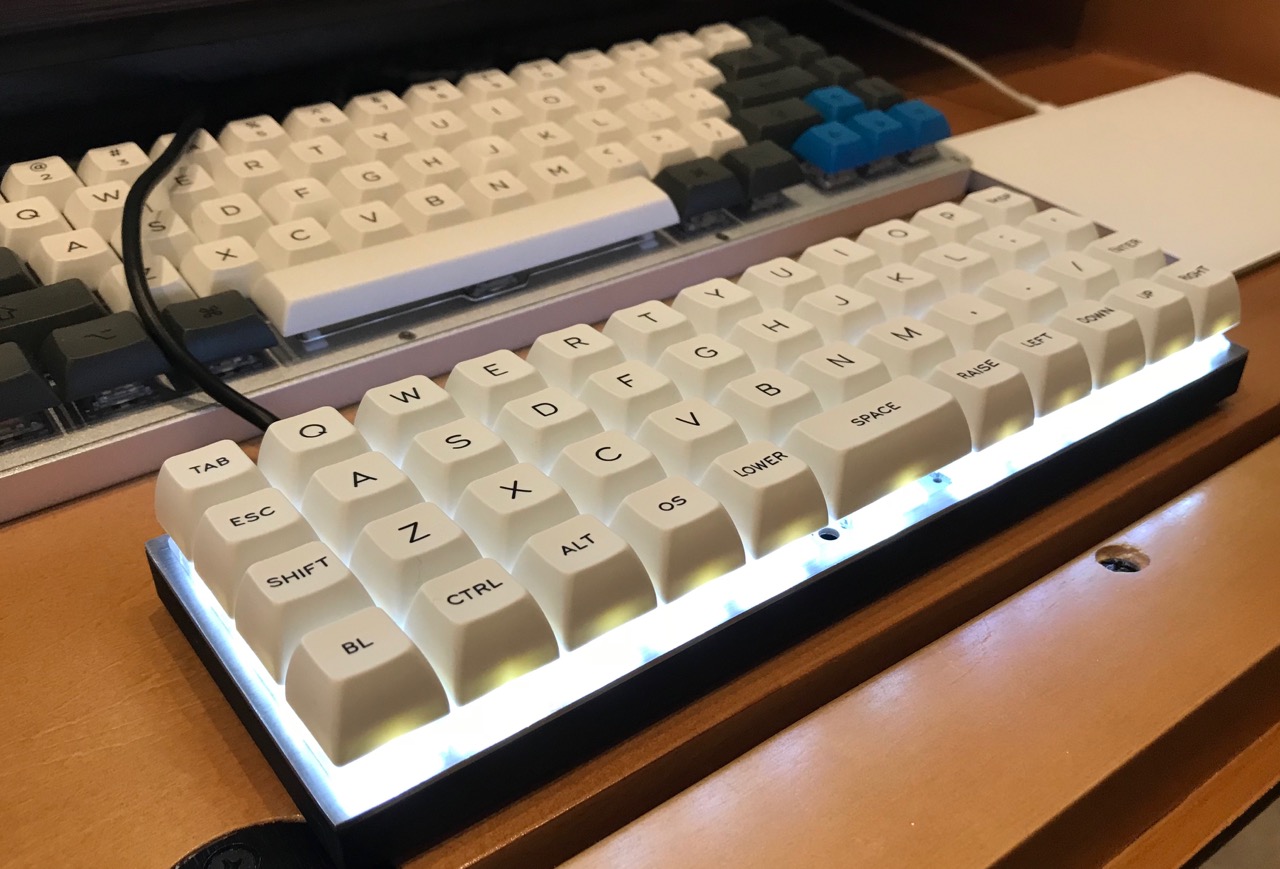
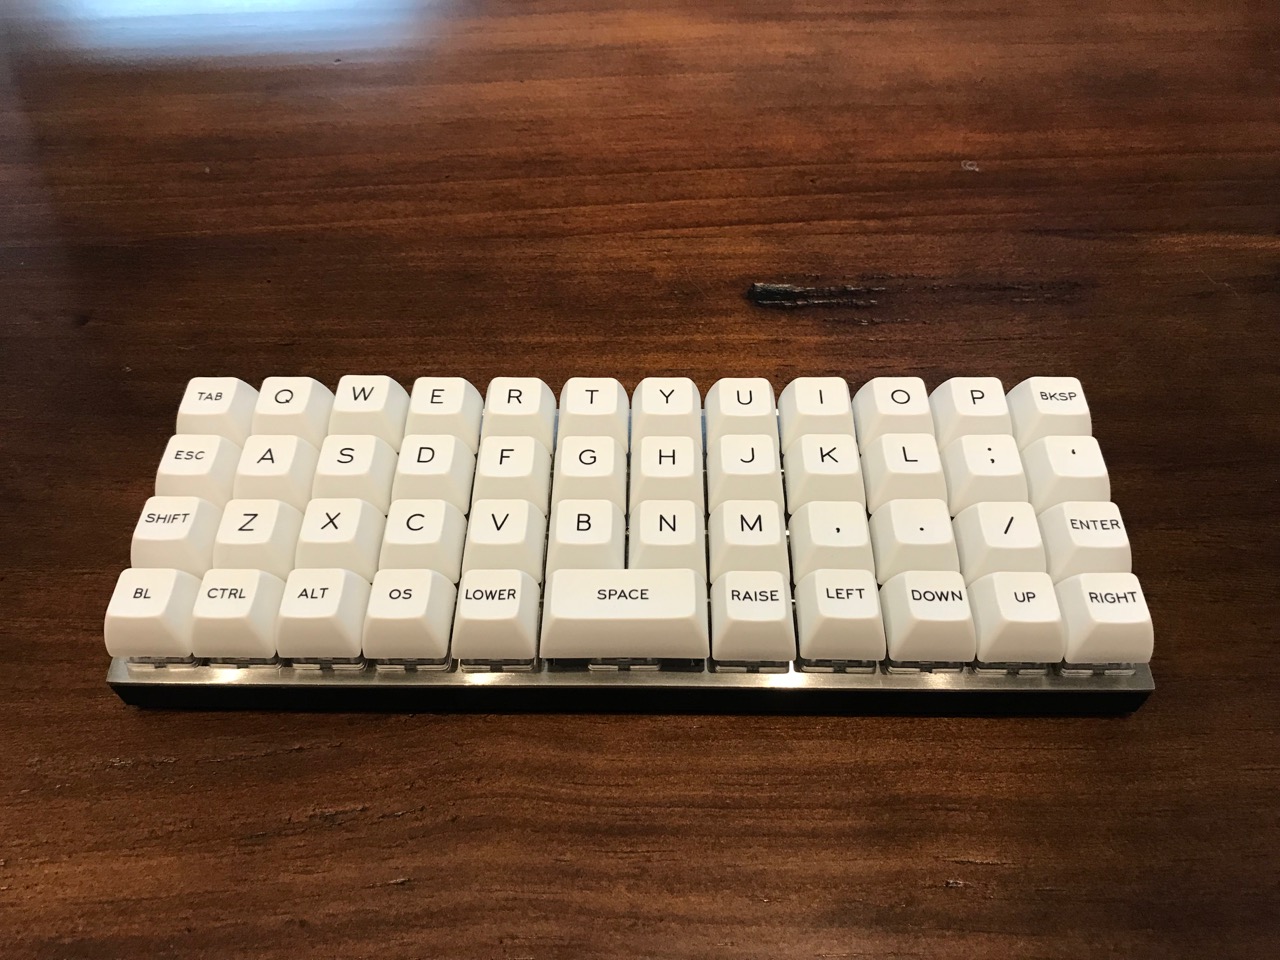
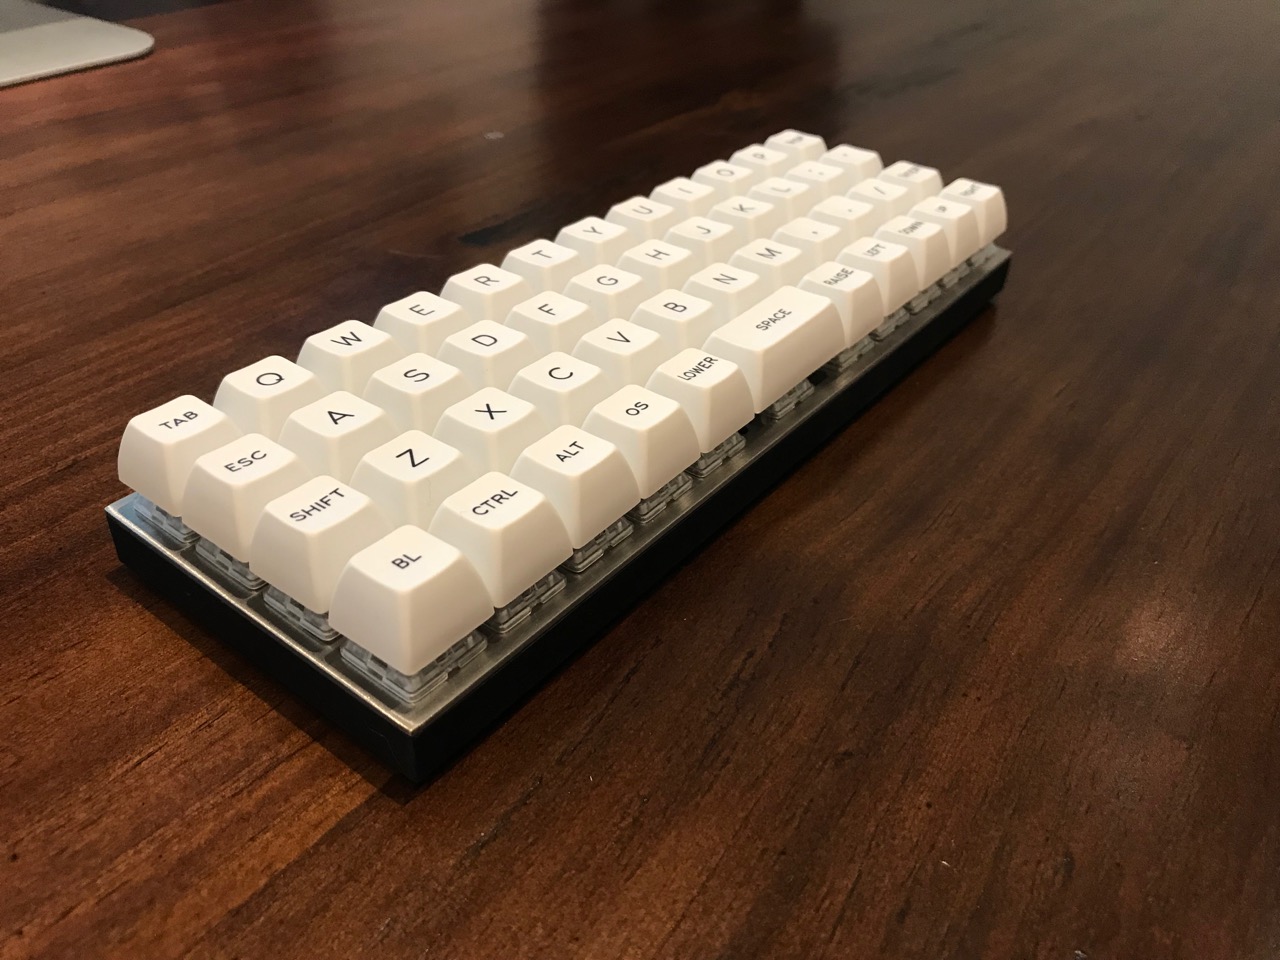
Finally, I installed SA keycaps from Signature Plastics. SA keycaps are normally sculpted – each row has a different profile, contoured to compensate for finger reach. For this keyboard, I chose a uniform R3 sculpt, meaning each key has the same profile. A uniform sculpt works well on the Planck because your fingers are never far from home position.
Adjusting to the grid layout took some time. The first hour of typing was rather frustrating as muscle memory caused my fingers to end up between keys when moving above or below home row. I was productive after an hour and by day 3, I was up to 70 words per minute. On a standard staggered keyboard, I type comfortably at 80 wpm. Overall, adjusting did not take as long as I expected. When switching from the Planck to a staggered keyboard or vice-versa, I make mistakes for a minute or two until I can adjust for the column vs stagger difference.
Working with only 47 keys is another challenge. Effective use of the Planck relies on layers. Each key can be programmed to change its meaning based on whether the Lower or Raise key is pressed. For example, the Q key means ‘q’ when pressed alone, ‘Q’ when pressed while Shift is held, ‘!’ when pressed while Lower is held, and ‘1’ when pressed while Raise is held. Memorizing the layer assignments takes some time. The default keymap is available from OLKB as a printable cheatsheet.
The Planck runs the QMK Firmware, an open source firmware which supports full customization of layers, macros, leader keys, and other advanced features like changing the meaning of a key based on how many times it was tapped. I’m still using the default layout but plan on some customizations after I have spent more time with the keyboard.
Overall, I’m very impressed with the Planck. The build quality is fantastic, the firmware is powerful, and the default keymap is very well designed.